Physical Address
304 North Cardinal St.
Dorchester Center, MA 02124
Physical Address
304 North Cardinal St.
Dorchester Center, MA 02124

When it comes to enhancing your garden’s charm while keeping critters at bay, nothing beats a diy gardening fence. Whether you’re dreaming of raised beds brimming with veggies or a cottage-style flower patch, a thoughtfully built fence offers both function and flair. But why should you invest time (and perhaps a weekend) into crafting one? Let’s dig in—literally—and explore how a diy gardening fence can transform your space into a secure, beautiful sanctuary.
First off, you’ll save money. Prefabricated solutions often cost more than the materials you can source on your own. Then there’s customization: instead of settling for cookie-cutter options, you craft a fence that complements your garden’s vibe—rustic wood, sleek metal, or eco-friendly bamboo?
Even better: you get to flex your DIY muscles, turning materials into structure. And let’s not forget the reward—standing back and admiring your handiwork, knowing you made it.
Before swinging a hammer, consider these foundational steps:
Measure your garden area carefully. Consider nearby structures, walkways, and plant zones. A fence for a small herb garden needs different specs than one for a sprawling veggie plot.
Wood (cedar, pine), metal mesh, or bamboo? Each has its pros and cons. Cedar resists rot but costs more; metal mesh adds durability and critter protection; bamboo blends beautifully into eco style gardens.
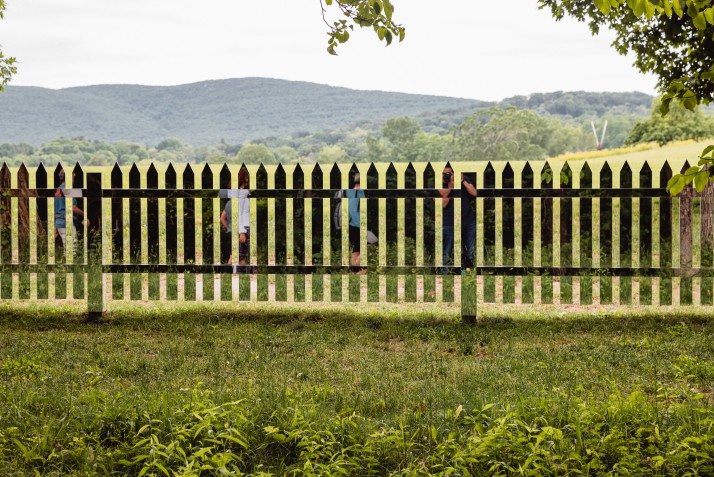
Are deer a threat? Rabbits? Small rodents? A typical herb garden might need just 2 – 3 ft high. But if deer nibble on your kale, aim for 6 ft—and consider angled tops for extra defense.
Clear weeds. Level the ground. Mark posts with stakes and string. A clean start prevents frustration and future sagging.
These guidelines may echo tips from our Gardening Resources, but the difference here is the diy gardening fence focus—every measurement matters, every board counts.
Gather everything upfront to keep your project smooth:
With tools ready, you can maintain rhythm. No wandering off to buy another screw mid build!
Here’s a fluid, flexible approach rooted in real world ease:
Dig holes about 2 3 ft deep (depending on fence height), spaced 6 8 ft apart. Insert posts, check vertical with a level, then pour quick set concrete. Let it set 24 hours.
Once posts are firm, fasten horizontal rails—one near the top, one near mid height, and one near the bottom. This tri rail structure ensures sturdiness and longevity.
Secure fencing material. For wire mesh, staple it taut to rails and posts. For wood slats or lattice, pre cut panels to fit dimensions and attach with screws. Vary patterns for visual interest—horizontal boards, chevron lattice, even living fences with climbing vines.
Cap posts with decorative top caps, wood finials, or metal caps for weather protection. Stain or paint wooden fences to complement plant colors. Consider wildlife gaps or gateways for functional access.
A diy gardening fence isn’t just barrier material—it’s a design opportunity.
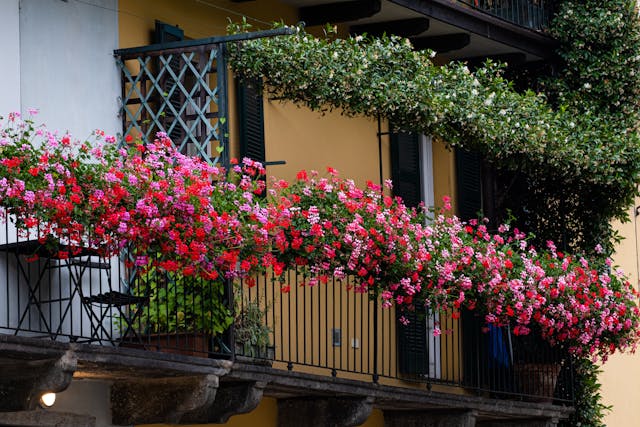
• Rustic reclaimed wood: Use weathered planks and mismatched boards, telling a story of time and thrift. Pair with wildflowers for a cottage garden feel.
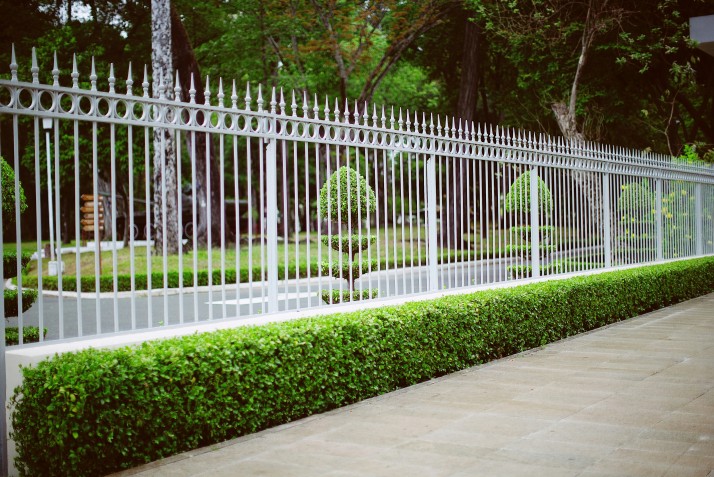
• Modern wire-and-post combo: Steel posts with black-stained wood rails and galvanized wire mesh deliver sleek minimalism—great for urban or contemporary spaces.
• Living fence: Attach trellis sections to the fence and train vines (like clematis or peas) through, turning a fence into a green wall that blooms.
• Mixed media: Combine metal panels and wood slats in alternating segments for texture and contrast.
Even a beautiful diy gardening fence needs a little TLC:
• Annual cleaning: Remove leaves, dirt, and mildew. A mild soap-and-water scrub works wonders.
• Inspect fasteners: Tighten screws and replace any rusted nails.
• Re-stain/paint every 2–3 years: Preserves wood and keeps the fence looking fresh.
• Fix sagging sections: Soils shift; wood warps. Adjust rails or posts as needed.
These simple routines echo our Gardening Care Tutorials, ensuring that your fence stands strong season after season.
You’ve just explored the what, why, how, and wow of a diy gardening fence. More than a boundary, it’s a statement. A protective companion for your plants, a backdrop for blooms, and a canvas for vines. Building it yourself means every measurement, every knot, every coat of stain is personal.
Ready to break ground? Let our Comprehensive Guides help you prep your space. And when you’re done, don’t forget to share your fence photos in our Reader Spotlights—because at SowHaven, every garden—and every gardener—tells a story worth sharing.
Did you find this diy gardening fence walkthrough helpful? Let us know in the comments, and subscribe to our newsletter for more hands-on, heart-filled garden projects!
Happy building—and even happier gardening.